How To Enhance Sora AI Video Quality
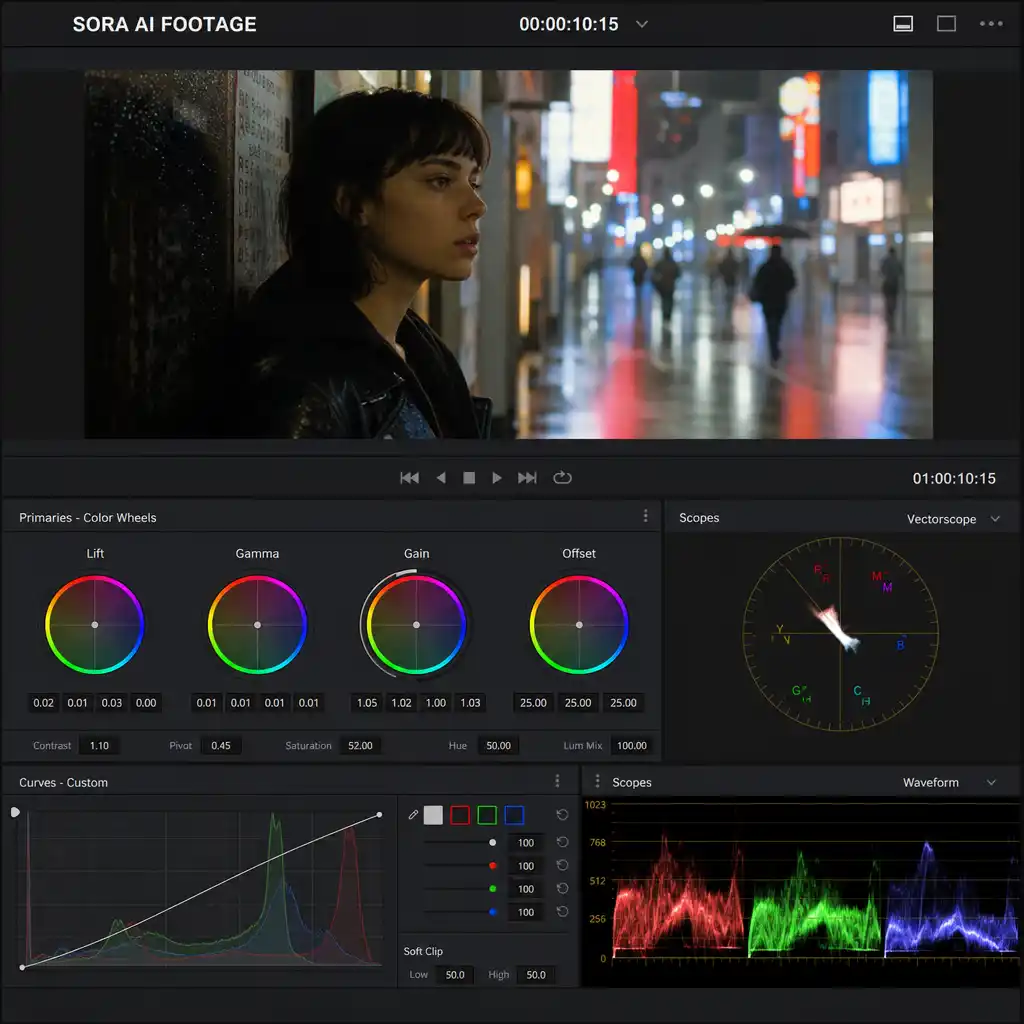
Sora can produce striking clips from a single prompt, but the first render isn’t always “finished footage.” Soft detail, jitter, odd textures, and small continuity breaks are normal for generative video—especially in busy scenes or fast camera moves.
Below is a practical workflow to enhance Sora AI video quality, from pre-production (prompting) to post-production (upscaling, stabilization, and grading). Think of it as treating a Sora clip the way you’d treat raw camera footage: you shape it into something deliverable.
What “quality” means in generative video
When people say they want to improve video quality, they usually mean a few specific things:
- Sharpness and detail: edges hold up, textures don’t look waxy, faces don’t smear.
- Temporal stability: less flicker, fewer morphing artifacts, and consistent shapes across frames.
- Motion quality: pans don’t stutter, and fast action doesn’t dissolve into blur.
- Finish: exposure, contrast, and color look intentional (not “default AI”).
Sora is essentially predicting how a scene should look over time. The harder the physics (water, crowds, hair, fine patterns) and the more aggressive the camera movement, the more likely you’ll see instability. Your goal is to reduce those failure points before generation—and then polish what remains afterward.
Phase 1: Pre-production — prompt like a filmmaker, not a keyword list
If you want higher fidelity, write prompts that function like a compact shot plan. The model responds well to clear subject, setting, lighting, lens language, and camera behavior.
1) Specify the shot and the camera behavior
Vague prompts force the model to invent too much. Instead of “a dog running in a park,” try a structured description:
- Subject: “golden retriever with wet fur, droplets visible”
- Environment: “early morning park, backlit trees, shallow mist”
- Camera: “locked-off tripod, 50mm, shallow depth of field”
- Motion: “slow lateral tracking, minimal roll, no whip pan”
This doesn’t guarantee perfection, but it reduces the chance of hallucinated angles and inconsistent geometry.
2) Ask for texture and material realism (without overloading the prompt)
Overly smooth surfaces are a common “AI tell.” You can counter that by describing materials in concrete, visual terms:
- “distressed full-grain leather, visible stitching, creases at the elbows”
- “porcelain mug with subtle glaze speckling and hairline reflections”
- “skin with natural pores, soft specular highlights, no plastic sheen”

3) Design for consistency (faces, outfits, props)
If a character changes between frames, it usually means the model is re-interpreting them mid-shot. You can reduce that risk by anchoring identity elements and limiting what changes at once:
- Lock the identifiers: exact clothing colors, distinctive accessories, hairstyle, and any unique features.
- Keep camera moves controlled: slow tracking beats fast pans; a steady shot beats a chaotic handheld feel.
- Shorter clips help: many creators get better results stitching multiple 2–4 second shots than demanding one long continuous take.
Phase 2: Generation strategy — iterate like you’re scouting takes
Even with a strong prompt, the fastest way to better outputs is disciplined iteration.
4) Generate variants, then pick the “cleanest” base take
Don’t waste time fixing a fundamentally unstable clip. Choose the version with the best temporal stability first (least flicker/morphing), then polish sharpness and color later. Stability is harder to “repair” convincingly than softness.
5) Avoid the usual failure triggers
If quality drops, simplify one variable at a time:
- Reduce background complexity (crowds, high-frequency patterns, busy signage).
- Reduce extreme motion (fast spins, whip pans, rapid zooms).
- Keep hands and fine interactions brief and partially occluded when possible (hands remain a common weak point).
Phase 3: Post-production — where “good” becomes “deliverable”
This is the part many people skip, and it’s usually the difference between a cool demo and a professional-looking clip.
6) Clean noise and compression artifacts first
Before you upscale, reduce the “digital grit” that can get amplified. Tools like Neat Video, DaVinci Resolve noise reduction, or Premiere Pro’s denoise can help smooth blockiness and micro-flicker. Keep it subtle—over-denoising can erase natural texture.
7) Upscale to 4K (or higher) with purpose
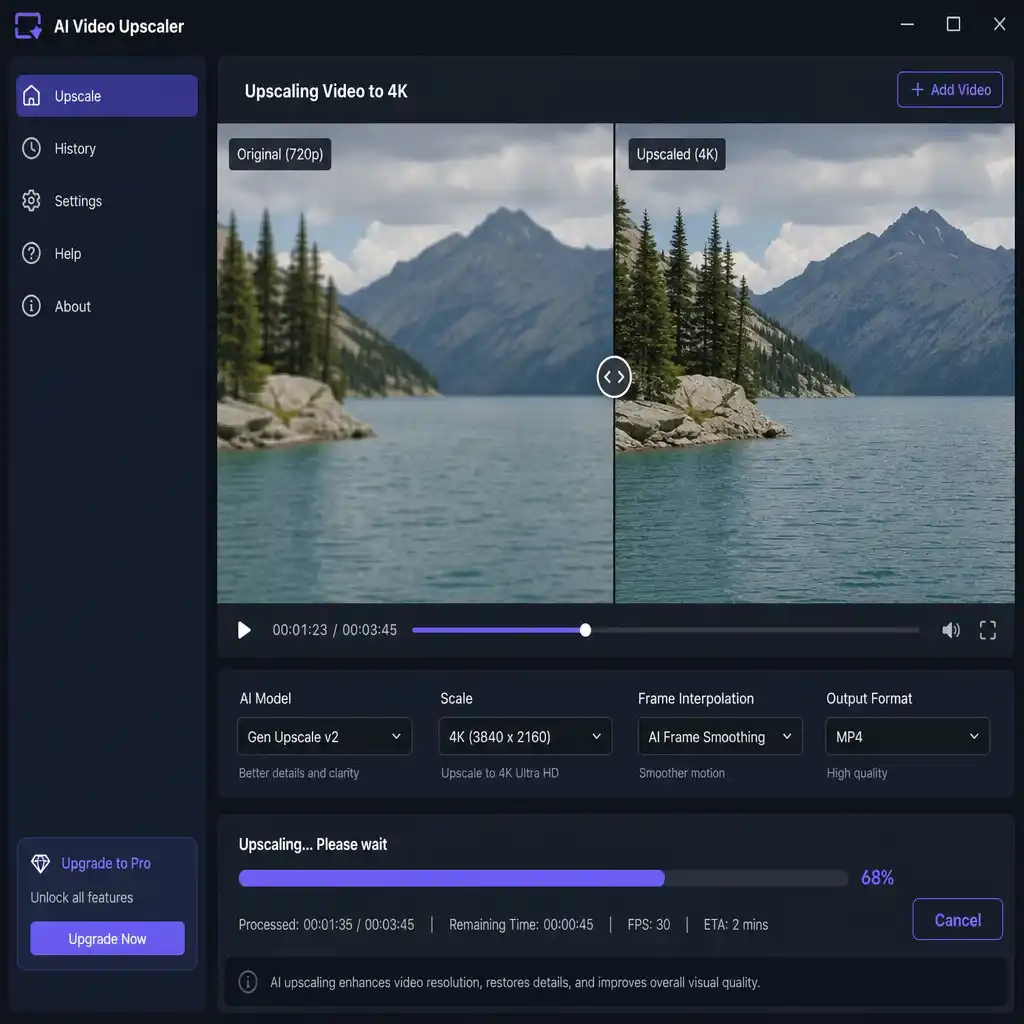
Upscaling AI video to 4K resolution is one of the most reliable ways to make Sora outputs feel more polished and enhance Sora AI video quality—especially if you intend to crop, stabilize, or reframe. AI upscalers analyze edges and textures and can recover perceived detail better than a standard resize.
Common options creators use include Topaz Video AI, DaVinci Resolve Studio’s Super Scale, and other AI upscalers marketed specifically as Sora enhancers. The right choice depends on your source clip (soft vs noisy vs compressed) and whether you need sharpening, de-blur, or artifact removal.
8) Fix motion issues with interpolation (carefully)
If motion feels choppy—or you need smoother slow motion—motion interpolation can help by generating in-between frames (e.g., Optical Flow in DaVinci Resolve, or dedicated interpolation models in enhancement software). Use it conservatively: aggressive interpolation can create “rubbery” edges around fast-moving subjects.
9) Stabilize, then consider a cinematic crop
Minor stabilization can reduce jitter and make the clip feel more “shot” and less “generated.” After that, a deliberate crop (for example, to a wider cinematic aspect ratio) can do two things at once: it improves composition and can trim edge regions where artifacts tend to appear.
Phase 4: Finish — color, contrast, and lighting polish
Many Sora clips look technically impressive but aesthetically undecided. A simple, consistent grade makes them feel intentional.
10) Color correct first, then grade for mood
Start with basic corrections: balanced exposure, controlled highlights, and lifted shadows only as needed. Then apply a creative grade—often via LUTs—tailored to the scene. A clean grade is usually more convincing than an extreme one.
11) Add subtle lighting cues (vignette, bloom, selective contrast)
Small lighting choices can make a clip feel more cinematic: a gentle vignette to focus attention, a controlled bloom on practical lights, or selective contrast on the subject. The key is restraint—viewers notice heavy-handed effects immediately.
Quick checklist: a repeatable quality pipeline
- Prompt: clear subject + setting + lighting + lens + controlled camera motion
- Generate: multiple short takes; pick the most stable base clip
- Clean: light denoise/deblock before upscaling
- Enhance: upscale, then sharpen/deblur only as needed
- Motion: stabilize; interpolate sparingly
- Finish: color correct, then apply a cohesive grade
Conclusion
If you’re learning how to enhance Sora AI video quality, the most important mindset shift is this: generation is only the first step. The strongest results come from (1) prompts that reduce ambiguity, (2) iteration that prioritizes temporal stability, and (3) a disciplined post workflow that treats the clip like real footage.
Do that consistently, and you’ll get outputs that hold up better on large screens, survive social media compression, and—most importantly—feel like a deliberate piece of video rather than a raw AI render.
FAQs
You can get surprisingly far with free tools to enhance Sora AI video quality: basic stabilization, mild denoise, careful sharpening, and color correction in editors that offer no-cost versions. The biggest “free” win is still prompt discipline and generating multiple short takes to choose from.
It can improve smoothness, but it’s not a universal upgrade. Interpolation works best on controlled motion; it can create warping around fast movement. Test short segments and keep the setting conservative.
Usually before. Cleaning noise and blockiness first prevents the upscaler from “inventing” detail out of artifacts. Then, after upscaling, apply only minimal sharpening if needed.
As a baseline, export at the target delivery resolution (often 4K), with a high bitrate and a modern codec to improve video quality. If the platform will heavily compress (social apps), a cleaner grade and slightly higher bitrate help preserve detail.
Yes—cinematic is mostly choices: controlled camera motion, deliberate composition, and a consistent grade. In post, a gentle contrast curve, restrained film grain, and a subtle vignette often look more convincing than heavy effects.
Anchor identity details (hair, clothing, accessories) and keep camera movement controlled. Treat each shot like a setup: generate a few variations of the same description and keep the one with the most stable face and wardrobe before moving on to the next shot.
Prioritize a cleaner base generation first (multiple takes, shorter clips). In post, try mild denoise/deflicker, avoid heavy sharpening, and stabilize the clip. If the subject is changing shape dramatically, it’s usually faster to re-generate than to “repair.”
Use an AI upscaler designed for video (not a simple resize). Many creators start with Topaz Video AI or DaVinci Resolve Studio’s Super Scale, then fine-tune sharpening and artifact removal depending on whether the clip is soft, noisy, or compressed.
Most of the time it’s a mix of motion complexity (fast camera moves, busy backgrounds) and the model “averaging” fine detail across frames. Generate shorter shots, reduce aggressive movement, then denoise lightly and upscale as a finishing step.
Q&A
Question: What should I prioritize when choosing between multiple Sora generations?
Short answer: Pick the take with the strongest temporal stability first—then fix sharpness, color, and scale in post. Flicker, morphing shapes, and geometry drift are far harder to repair convincingly than a slightly soft image. Start by generating several short variants, select the most stable base clip, and treat sharpness/detail as polish you’ll add later via denoise, upscaling, and light sharpening.
Question: How do I structure a prompt to reduce artifacts and hallucinated camera moves?
Short answer: Write your prompt like a compact shot plan: clearly define subject, environment, camera, and motion. For example:
- Subject: “golden retriever with wet fur, droplets visible”
- Environment: “early morning park, backlit trees, shallow mist”
- Camera: “locked-off tripod, 50mm, shallow depth of field”
- Motion: “slow lateral tracking, minimal roll, no whip pan”
- Anchor texture realism with concrete material cues (“distressed leather,” “porcelain glaze speckling,” “skin with natural pores”), but keep it concise so the model isn’t overloaded.
Question: Why do multiple 2–4 second shots work better than one long take?
Short answer: Shorter clips limit how much the model can re-interpret subjects mid-shot, improving identity consistency and reducing drift. They also make controlled camera movement easier and concentrate complexity into manageable segments. You can then stitch the cleanest takes in editing for a more stable, coherent final sequence.
Question: What’s the recommended post-production order, and why does it matter?
Short answer: Follow a “clean, enhance, refine, finish” sequence:
- Clean: light denoise/deflicker/deblock first so artifacts aren’t amplified later.
- Enhance: upscale to 4K with an AI upscaler; add only minimal sharpening or de-blur as needed.
- Motion: apply mild stabilization; consider conservative frame interpolation if motion feels choppy.
- Compose: crop (often to a wider aspect) to improve framing and trim edge artifacts.
- Finish: color correct for balance, then apply a cohesive creative grade and subtle lighting cues.
- This order prevents you from sharpening or enlarging problems and keeps the grade consistent across the polished image.
Question: How can cropping and stabilization hide AI tells without looking over-processed?
Short answer: Use gentle stabilization to remove jitter while preserving natural motion, then apply a deliberate crop (e.g., a wider, cinematic ratio) to improve composition and cut away artifact-prone edges. Finish with restrained touches—slight vignette, controlled bloom on practicals, and selective contrast on the subject. Subtlety sells the shot; heavy-handed effects draw attention to the processing.